When the weather is not too cold or too hot, it’s nice to sit outside in the evenings. So we made a seating area near the citrus trees, accessible from the steps we built last spring. There is a chiminea for a small fire in case it is a little cold. Here is the area, covered in snow, on February 20th.
To have somewhere to set drinks or snacks, I decided to make a little table out of redwood, a material that holds up well outside in the desert. I used inexpensive pieces, 5.5″ fence wood, 3.5″ fence wood, and 3/4″ x 3/4″ redwood stakes.
I did not draw up detailed plans, but decided on having the table be square and have a shelf. The overall height would be 18″ with the shelf at 6″. The shelf would be the width of four 3.5″ boards, or 14″, and the top would be the width of five 3.5″ boards, or 17.5″. These are approximate dimensions because fence boards are notoriously irregular in all dimensions. That is okay; it just requires making adjustments to match the dimensions of the boards on hand at the time.
Here is my plan on paper.
Pretty sad, I know, but I can use the lower drawing to illustrate something I don’t have a good photo of later in the blog. I will not go into it now, but it has to do with attaching the table top to the legs that support the top.
The weekend before Valentine’s Day I had the materials together and started the project. I cut four 5.5″ boards to make the 14″ square base, and I cut four 3/4″ stakes for the legs that extend from the base to the table top. I drilled two clearance holes in one 5.5″ base piece and one pilot hole in one 3/4″ leg piece, lining up the leg with the edges of the base piece when drilling the pilot hole through one of the clearance holes.
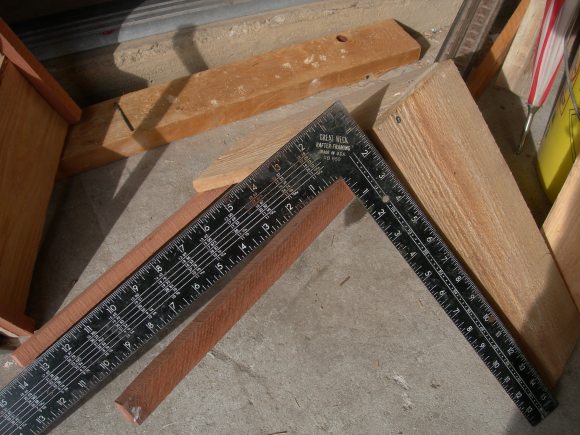
After attaching these two pieces together with the first screw, I used a steel square to make the base at a right angle with the leg before drilling the pilot hole for the second screw.
I followed the same method to add the second leg to this one base piece, and repeated the same steps to make another base piece with two legs. Eventually I put three screws instead of two in an effort to take some of the warp out of the 5.5″ redwood base pieces. The wood I got was actually wet when I bought it, and it had warped. It would have been better to look for wood that was dry and not warped, but it still works, and adds to the rustic nature of the piece.
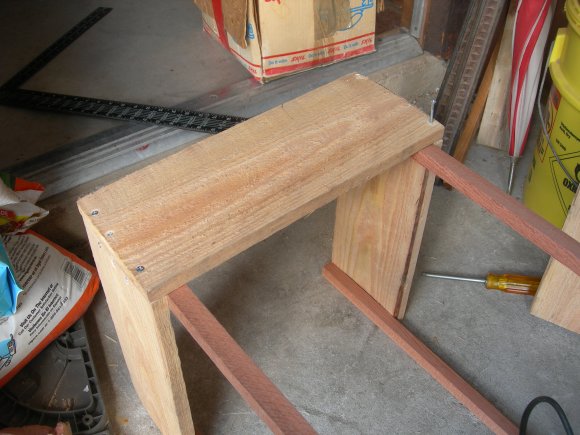
Then it was time to connect the two pieces with legs together to make the square base. This involved working with the pieces tilted, but eventually I could connect another of the 5.5″ boards and square things up before drilling the pilot hole for the second screw.
I continued on, attaching the other piece with two legs to the angled piece, drilling both clearance holes in the side piece, then the pilot holes one at a time.
This kept things quite square, but you can see how little errors could start adding up.
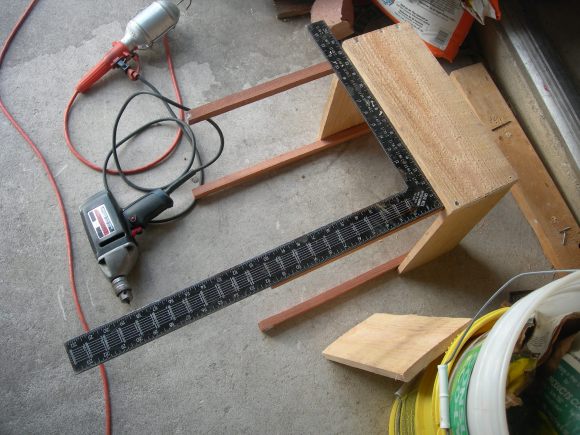
All that was left to complete the base was to attach the other side piece. Here I squared things up the best I could.
Time was running short and daylight was waning, so I didn’t get pictures of adding the shelf. The shelf was made from four 3.5″ redwood boards that were approximately 14″ long. I had to notch out two of the boards to make room for the legs. I attached the shelf boards with finishing nails. If these eventually get loose, I can attach them with screws, but nails work fine for now.
I used clamps to glue the five 17.5″ long 3.5″ boards together for the top. I attached 3/4″ pieces to make a frame around the top’s perimeter so I could take it out of the clamp without letting the glue dry.
This is where you might refer back to the drawing as a view of the underside of the top, showing where the legs attach.
With the top lying top down, I set the base leg-side down on the top. I tried measuring to position the legs, but eventually found that adjusting their locations until it looked right was easier and better. I wanted them to sit neutrally, without any spring in the legs, and to look centered. Once I had them where I wanted them, I marked all four corners of each leg in pencil on the underside of the top. I marked one leg and the top as a key to remember which leg went where.
I removed the base and drew an X with a straight edge to locate the center of where each leg’s corners were marked. Then I drilled four holes, one hole in the center of each X, from the bottom. This created pilot holes on the top side of the top for a later step.
After the four holes were drilled, I put glue at the four locations where the legs would sit. Then I replaced the base piece, with the legs back in their original marked locations, and put a weight on the underside of the shelf to glue the legs down to the top.
Once the glue was set, the table construction was done except for permanently attaching the top to the legs. This process started by drilling long pilot holes into the centers of the legs from the top, using the pilot holes from the previous step as guides. I used four longer screws, 2.5″ ones, to attach the top to the legs.
To finish the piece, I painted it with a good quality natural-wood colored exterior stain.


