Category Archives: Steps

The steps get finished

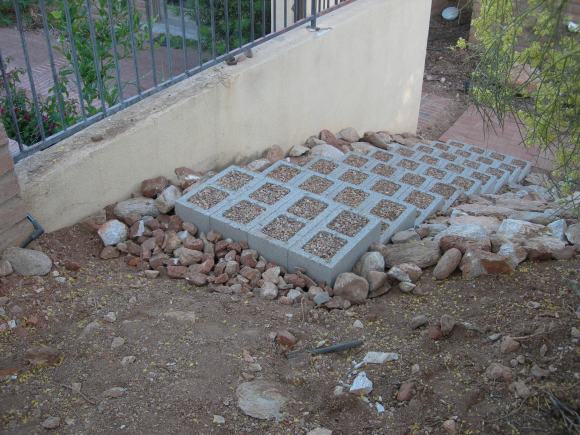
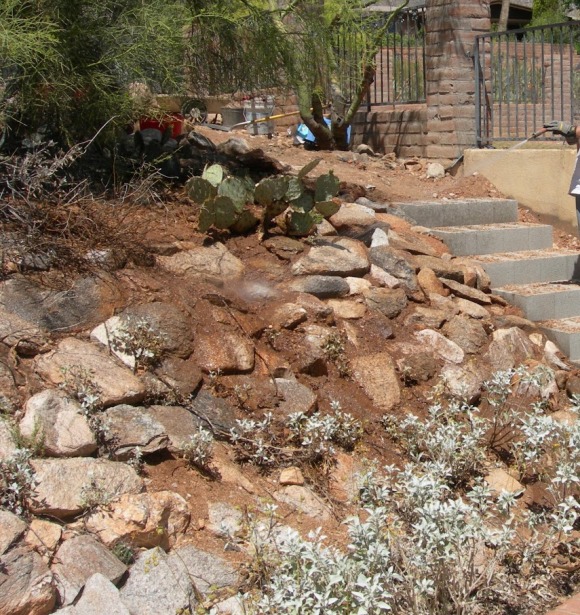
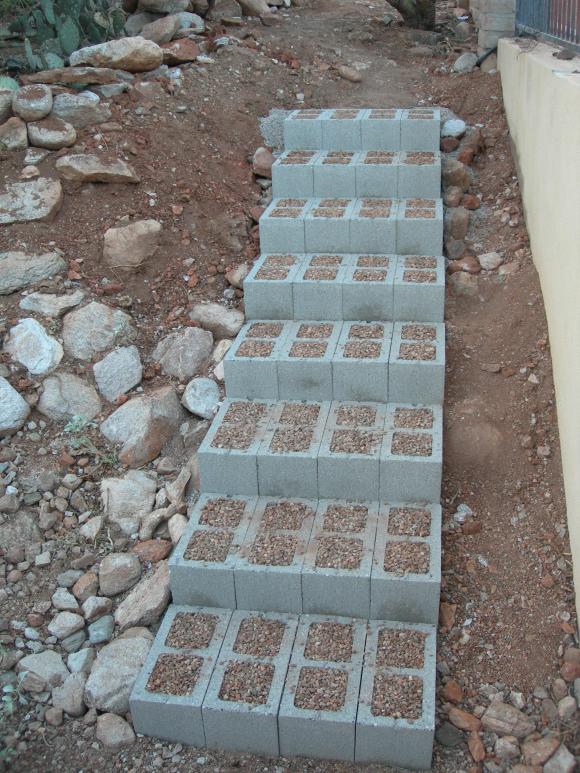
Here is the rip wrap from before with eight steps.

During the week I added a ninth step, and this weekend started on the rip wrap between the steps and the wall.

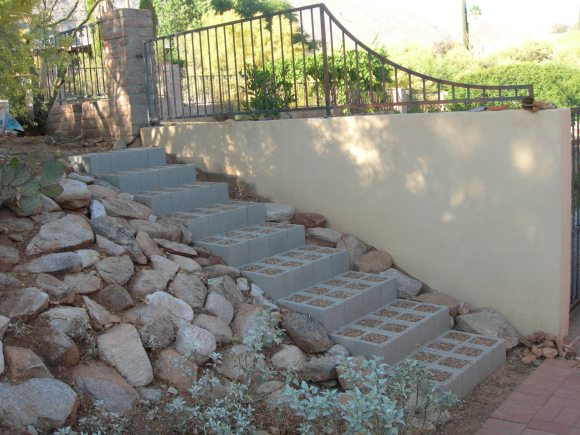
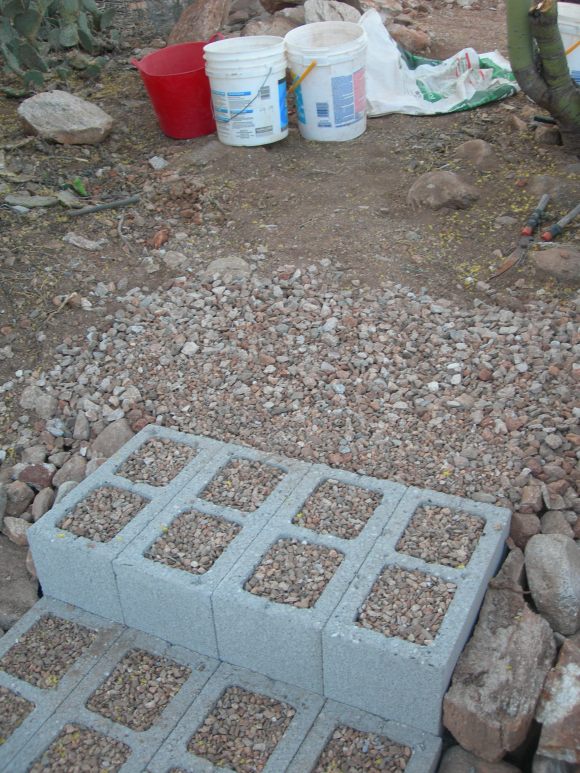
This view shows how the ninth step really helped bring the level of the top of the stairs up to the level of the ground at the top, four and a half feet above the brick walkway.

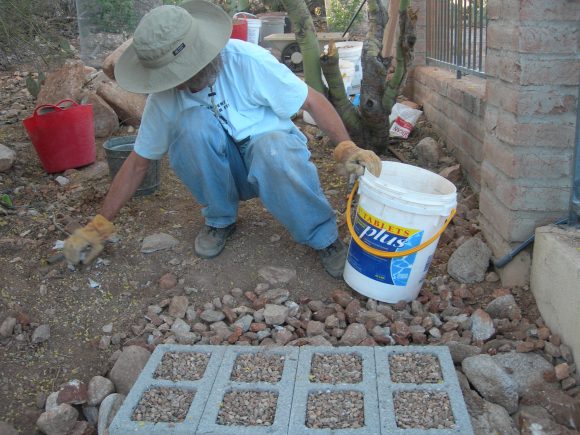
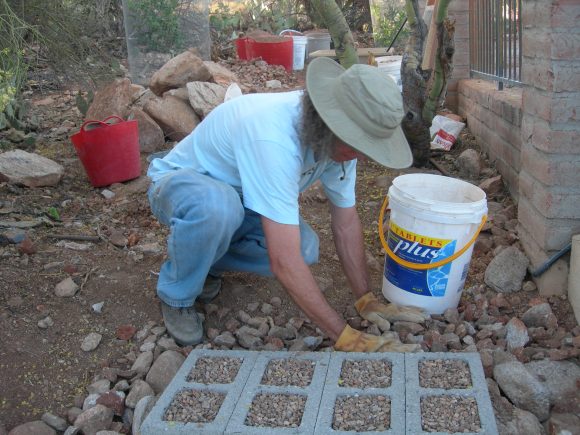
There was a gap at the top of the steps, between the steps and the ground, that I built up with varying sizes of rocks sorted out from all the dirt generated by this project.

Here’s another view.

More rocks going in:

And more rocks:

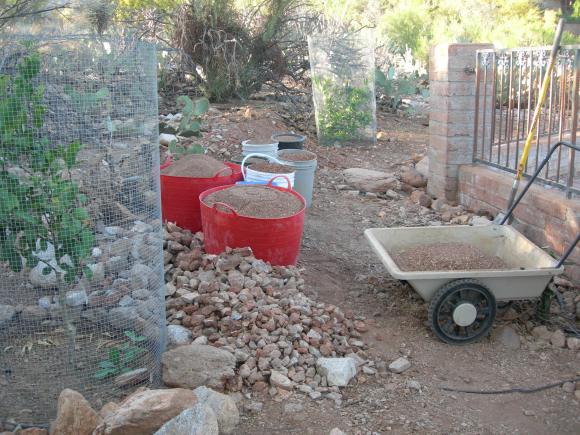
The  rock pile:

Fussing with rocks:

More fussing:

And more fussing:

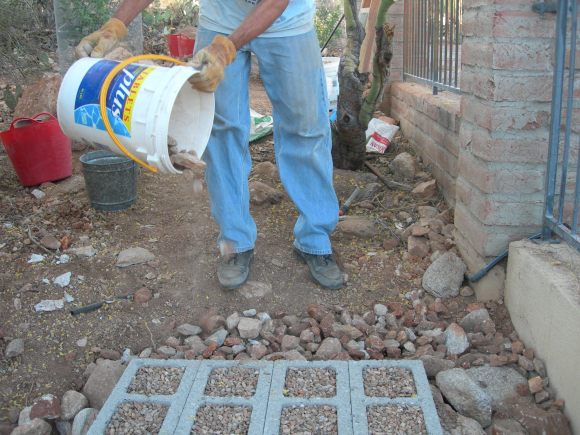
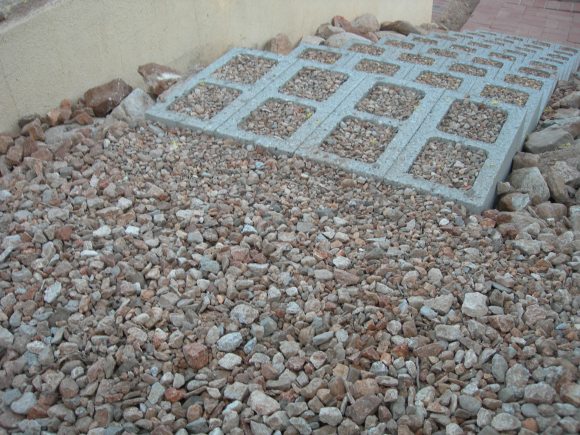
I covered the larger rocks with 1″ rocks and a few of the 1/4″ – 1/2″ rocks.

A Roadrunner came by to inspect my work.

The finished product.

Rip Wrap

On Saturday we worked on the rip wrap – rocks embedded in the hillside to reduce erosion.  We removed a lot of these embedded rocks to put the steps in.  Some were huge.  All but one I was able to carry or roll up the hill.  You can see some of the big rocks in the “before” picture from the last post.

Most of the rocks were smaller, and the plan was to not use the really large ones for the rip wrap restoration.  Some time ago I made a short rock wall (one layer, or course of rocks) to hold back the erosion at the highest point of the property, and the idea is to use the larger rocks as a second course on that low rock wall.  The rock wall keeps dirt away from the masonry wall shown in the photos above and to the right of the steps, protecting it from damage.  I’ll get some pictures of this rock wall work in a later post.

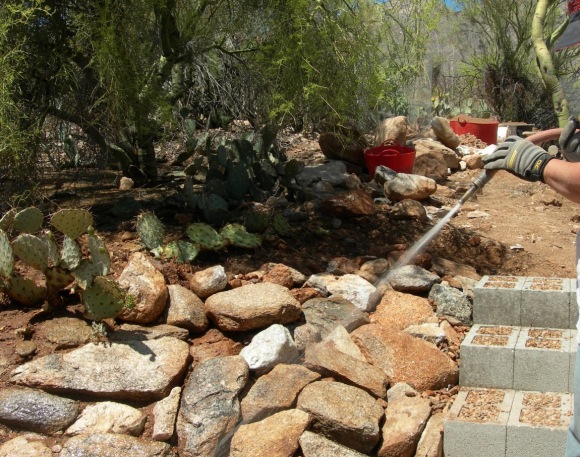
Here is  the first of the “after” pictures, at about 1:00 p.m. on a day that got to 99 degrees Fahrenheit.  Susan did much of the rip wrap installation.  I cleaned up dirt ahead of her and finished off at the top.  The process of putting in rip wrap involved digging out niches and placing the rocks one at a time, starting at the bottom and working up.

On Saturday I mostly sifted rock out of dirt.  We have pretty much decided to put in a ninth step at the top, and so we need more of the various sizes of rocks to fill the voids in the blocks of that step.

There is going to be a lot of dirt left over from this project.  I will likely haul the dirt to a lower elevation on the property and stash it in some unobtrusive spot.

The rip wrap in this area has been overrun by the dirt of years of erosion of the hill above it.  Susan is rinsing away some of this buildup to reveal the nice rip wrap underneath.


DSCN4334


DSCN4335


DSCN4336

Here is a closeup of the rip wrap at the top of the steps.  We still have to do the rip wrap on the other side of the steps – between the wall and the steps.  That should be fairly easy, because the dirt is loose from being dug out for the PVC work.  Today was 101 degrees Fahrenheit.  We’ll try to work on the rip wrap again next weekend.

DSCN4337


The Last Two Steps

I was able to put a few hours in over Thursday, Friday, and Saturday to finish off the steps.  On Thursday I leveled the space for the seventh step in preparation for digging out the space for the eighth step.  I again used the six inch tall frame as a gauge for where to level off the eighth landing in the dirt.  This wasn’t too exact.  But digging a little too deep just means more pea gravel to bring the level up to where the blocks sit.

After hacking out space for the eighth landing, I smoothed and compacted the space for the seventh step.  It’s not shown, but I did wet it and tamp it down with the end of a block and by just walking around on the moistened dirt.  It is a little messy.  The idea is to not get it so wet that it becomes muddy.

Here are the seven steps in the waning light of Thursday evening.

Friday I got started a little earlier in the afternoon.  Here is the pea gravel, all ready to go for the eighth step.

And a short montage/sequence of the last step.  Not shown is a lot of measuring, leveling, and general fussing with the gravel and block to get it right.

ONE:

TWO:

THREE:

FOUR:

And finally the eight steps were in before the weekend!

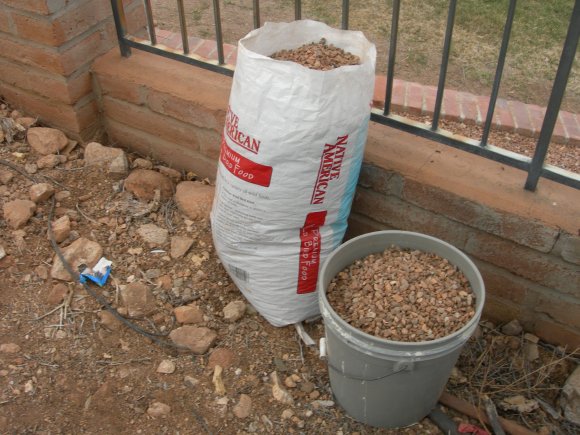
Saturday afternoon I had a couple of hours to complete filling the voids in the blocks.  Here is the 1/4″ – 1/2″ native rock I screened to finish off the steps.

native rock to top up the voids

There were a lot of twigs in the bag of rocks, but after more fussing and picking-through, and having to screen more dirt to get a few more of those small rocks, I had enough good clean rock to fill the spaces in the blocks.  Before putting the native rock in the block voids, more sand, pea gravel, and other rocks went in.  The layer of 1/4″ – 1/2″ rock is about two inches thick.

Finally!

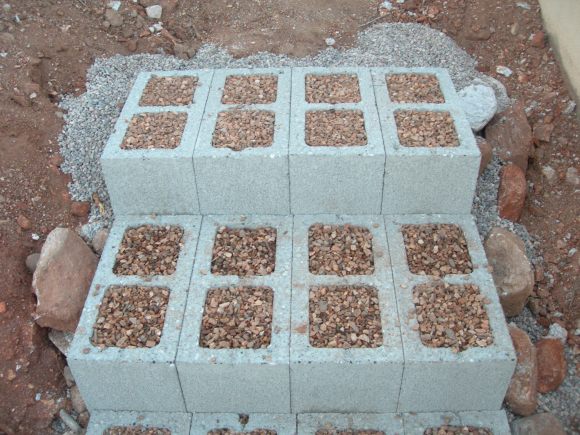
Here are the top two steps showing the texture and contrast of concrete and rock.  The rock is still a little dusty, so it will get looking better and better.  There are pieces of quartz-like rock that I set aside to act as accents in the top layer.  Those will go in later after more fussing.

Still to be done are putting the rip-wrap back and contouring the ground above the steps into a little trail that leads away from them.  Right above the steps might be a good spot for some one-inch native rock if I can muster more of it out of the dirt.  There is a pile of dirt to deal with from digging out for the last four steps.

more stairs

I had some time to work on the steps and put in a solid four hours on Friday.  At the start of the day, four steps were in, and the space for the next step was more or less dug out and ready to go.

Image

I decided to employ the six inch tall frame I had made as a guide for carving the space for the next step out of the hillside.  Because the hillside was getting very steep and there would be lots of dirt and rocks flying, I thought digging a few landings in the dirt would keep the previous step a little cleaner and minimized the amount of dirt that found its way into it.  So I leveled the frame and started hacking on the hillside.

Image

Lots of dirt came down and pretty much buried the frame, but I was able to mark where it sat, lifted it out, and placed in at the level of where the next landing in the dirt would be.  Then it was all ready for the next go at the hillside.

Image

The frame took quite a beating on the next step-digging.  I hit a big rock that seems too big to move, so I chipped at it with the pick.  The pointy end of the pick worked quite well for this, and the species of rock made it not too tough.  I think it is granite, but barely pulled a C in Geology, so am not too sure.  It flaked and chipped relatively easily depending on the angle the pick struck it.

Image

After digging out for the two steps, it was easy to clear out the dirt and get started on the fifth step.  Whereas we were bringing dirt in to fill for the first steps, now I am carting dirt out by the bucket load.

I also cut away some of the dirt beside the space for the steps in the process of leveling for each, this in preparation for contouring the dirt away from the steps for rip-wrap and erosion control.

Image

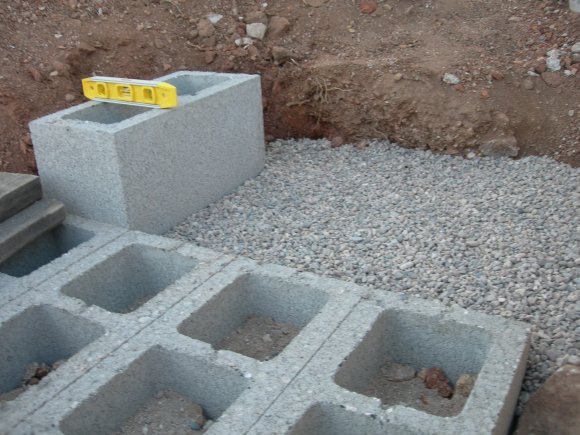
In the next picture you can see the leveled pea gravel and how the block sits on it.  I started putting the blocks down left to right with the fifth step.  It was somewhat easier, but the leveling and getting the riser height as close to six inches as possible was a little frustrating.  The two steps I put in came out well though, and it was worth taking the time to get it right.

Image

I got a couple of five gallon buckets of sand from a sand and gravel place that lets customers fill their own buckets for $2.50 each, plus tax.  I rinsed the sand in with water to fill gaps in the rocks placed thus far, and hoped some would even get down to the pea gravel to fill the little gaps there too.

Part of the process I am following includes wetting the dirt where the next step is going to go and compacting it with a block plus walking around on it.  You can see some of the sand and the moistened landing ready for pea gravel and the sixth step.

Image

Here are the six steps that are in so far.  No work happened over the weekend, but I hope to get some time during the week to finish the next two steps.

Image

Dirt, rocks, stairs

So here is the plan:
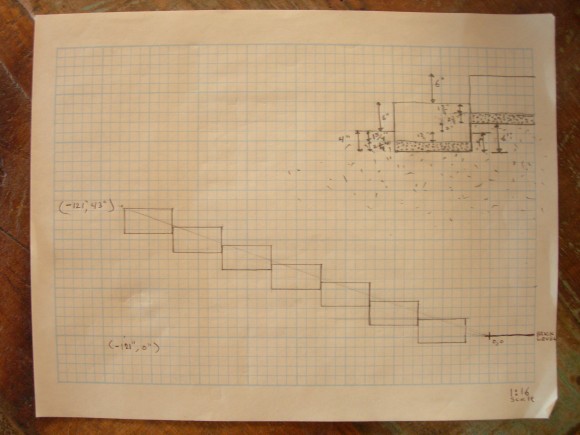
The scale drawing at the bottom of the piece of paper shows seven steps leading from the level of a brick walkway.  The first step is about eight inches from the walkway.  The walkway curves slightly, so the eight inch gap between the walkway and the first steps is only approximate.  It seems now that there will be eight steps

Nothing is too exact in this process.  The steps were going to be against the wall – as mentioned in an earlier post – until I hit water.

The drawing at the top of the piece of paper shows the plan to dig down about four inches from the previous step when preparing for the next step.  Pea gravel acts as a base under the steps.  I will include a picture of this in a later post.

The process on Saturday was to create some fill dirt and get started preparing for setting the steps.  After removing the rip-wrap, the hillside was not a gradual slope.  The dirt was to be used to restore a more gradual slope to the hillside.
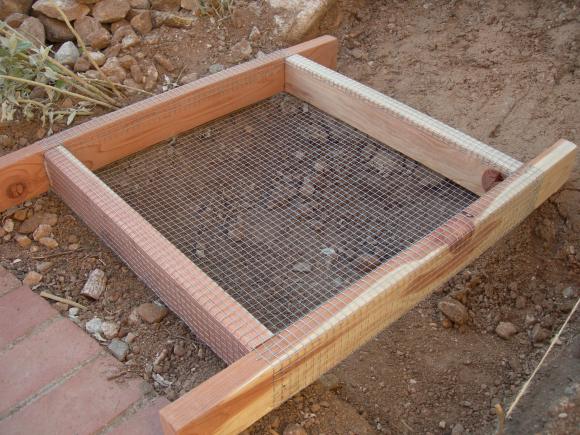
I made a sieve to screen out bigger rocks, and hand sorted to get 1/2″ – 1″ sized rocks.  Here is the process:

Put some dirt in a bucket; put the sieve on a wheelbarrow.
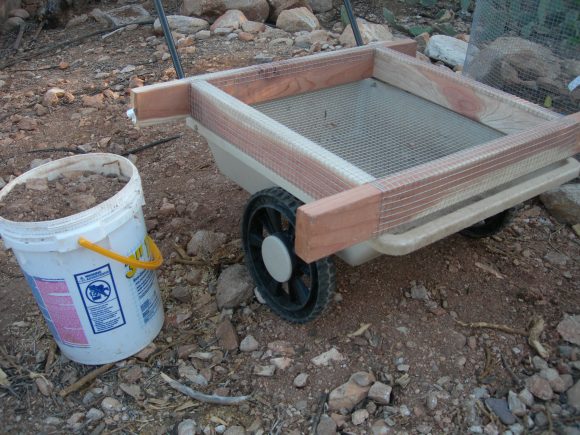
Screen out the dirt and smaller rocks.

Put bigger rocks off to the side.  The rocks remaining in the sieve are approximately 1/2″ – 1″.

Screen the dirt again with a finer screen (1/4″ instead of 1/2″ grid) to get smaller rocks; I simply placed the finer grid on top of the 1/2″ grid.

After screening the dirt a second time, the resulting rocks are between 1/4″ and 1/2″.

By doing this process repeatedly, I had buckets and buckets of the two sizes of rocks.  The rocks will be used to fill the voids in the cinder blocks of the stairs to hold them in place and provide a surface for the foot to land on when climbing or descending the stairs.

The wheelbarrow has dirt and rocks less than 1/4″ in size.  This will be used to fill the hillside as necessary.

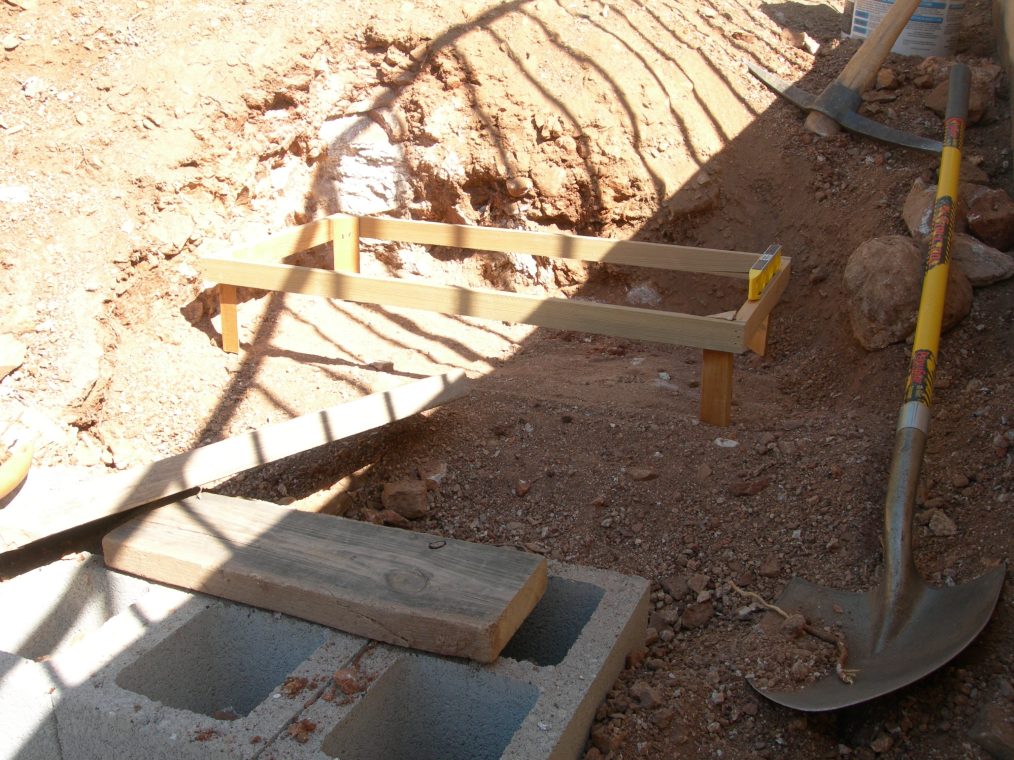
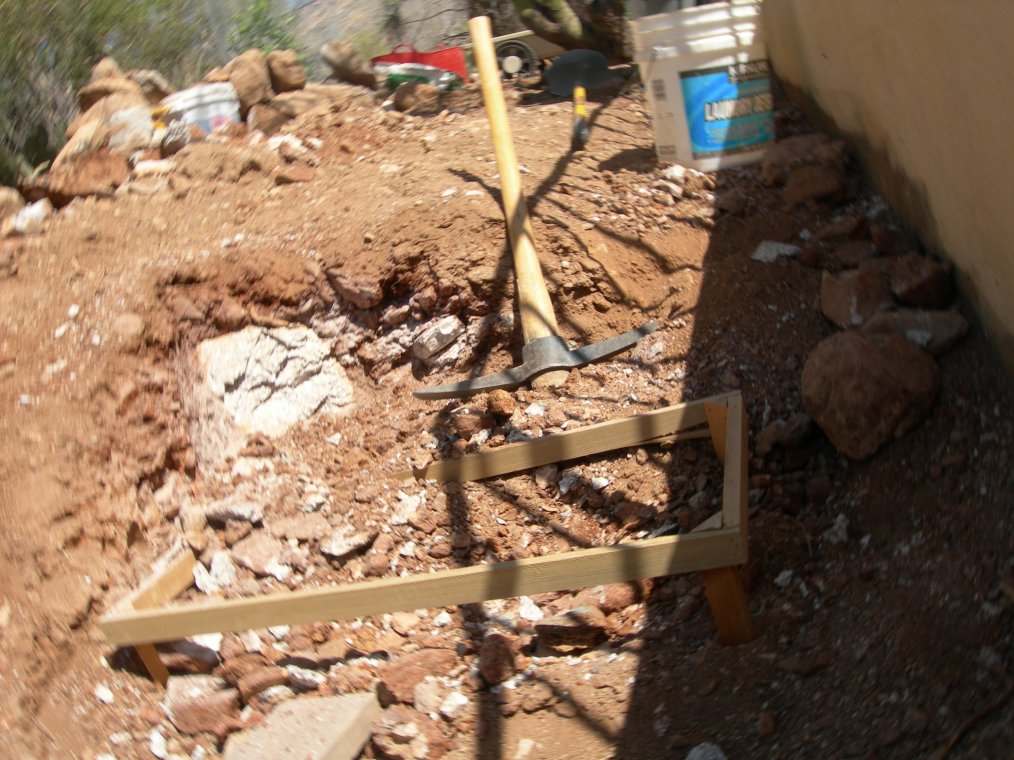
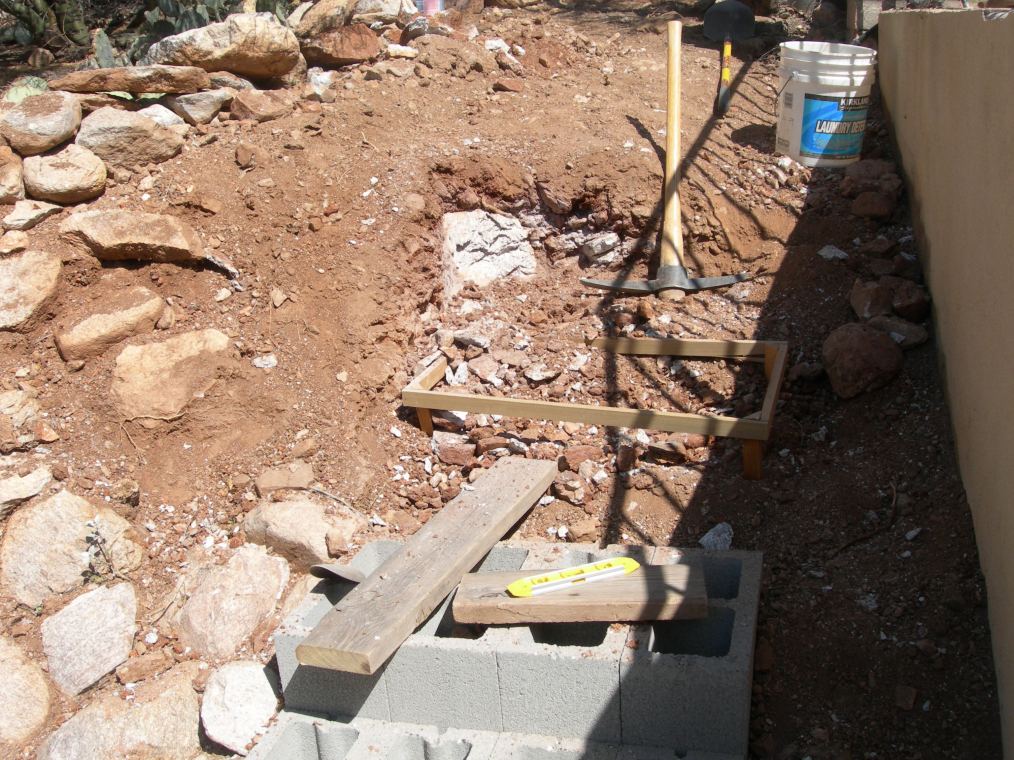
Here are a couple of view of the hillside.  The wooden apparatus at the bottom of the hill in the location of the first step was supposed to act as a gauge to determine how high to dig into the hillside for the next step.  This process was much more difficult than it seemed.  The gauge idea was scrapped.

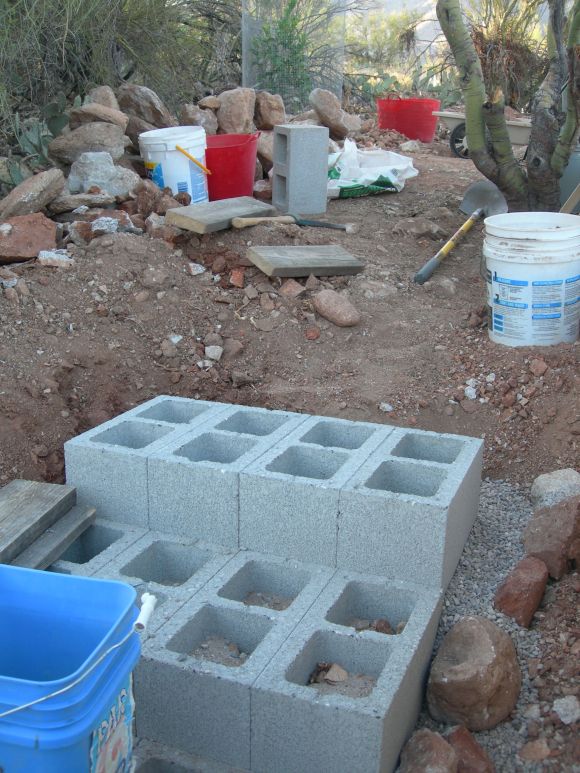
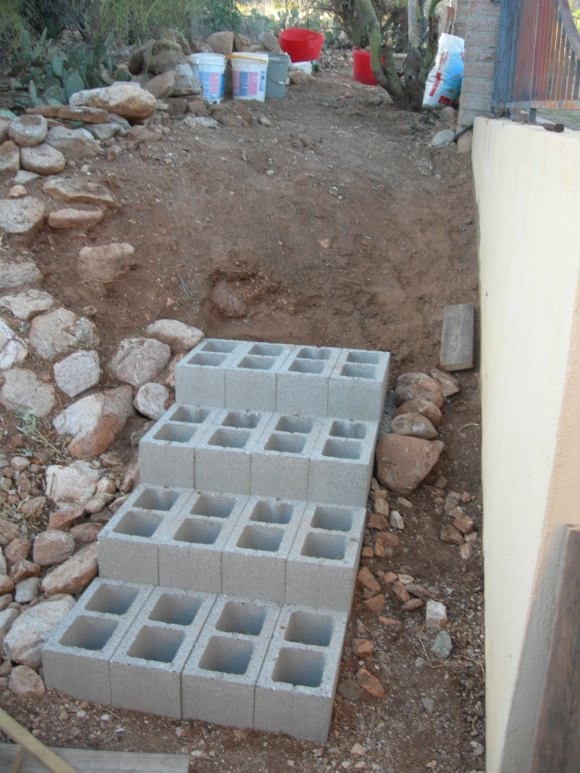
Sunday afternoon we were able to build four steps working together.  The pea gravel goes on top of the compacted dirt in the hole where four 8″ X 8″ X 16″ concrete blocks (cinder blocks) create an individual step.

This process was a bit tedious.  Getting the blocks to be more or less level is not as easy as it might seem.  I made a screed to level the pea gravel at 1-3/4″ inch below the level of the  previous step.  This worked in a way that was not too exact, so after getting the pea gravel at about the right height, the process required putting the first block in place and adjusting the height up or down and working to get it level.  It is important to keep the riser height consistent, so climbing or descending the stairs feels normal.

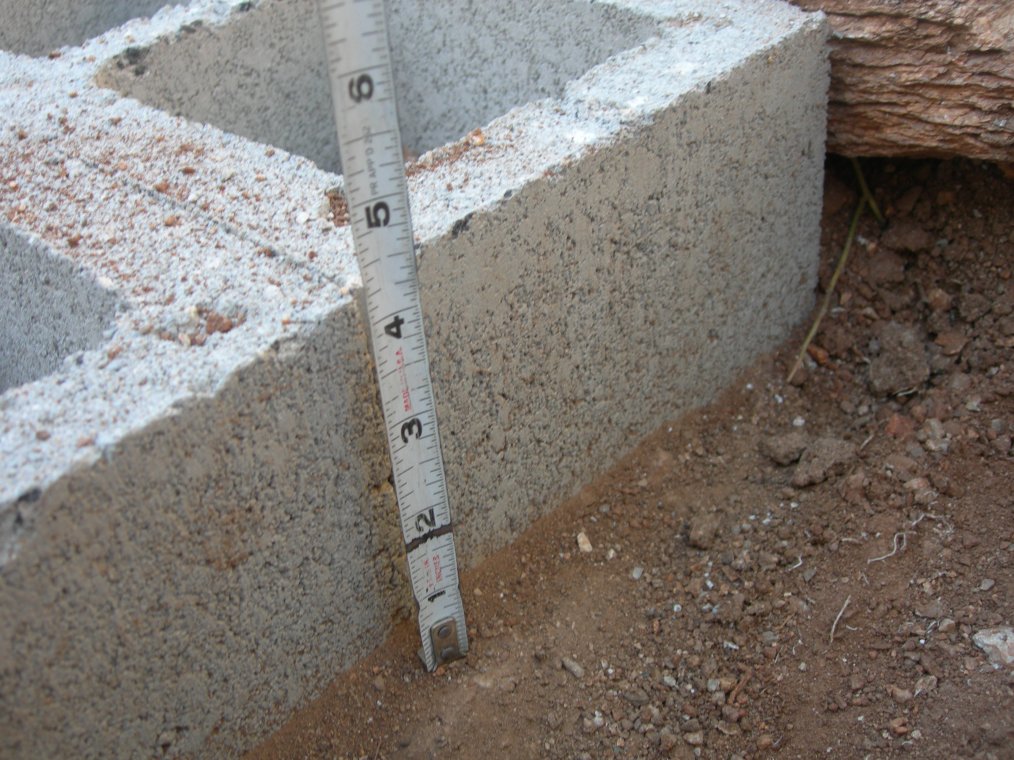
Cinder blocks are only 7-3/4″ high, and I had decided on 6″ riser height and 16″ treads based on the back patio steps which are approximately these dimensions.  Cinder blocks are also slightly shorter than 16″, but the steps should still be fine.  The risers are as close to 6″ as we can make them.

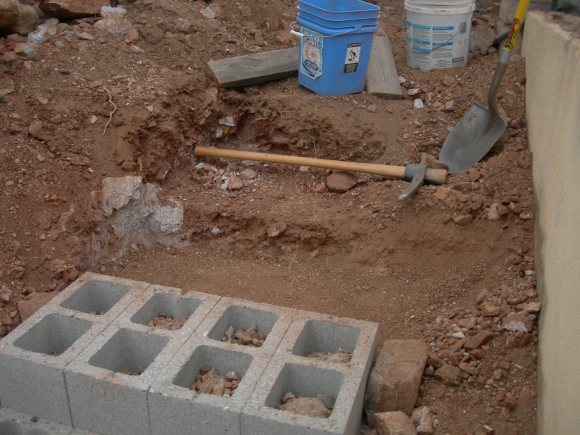
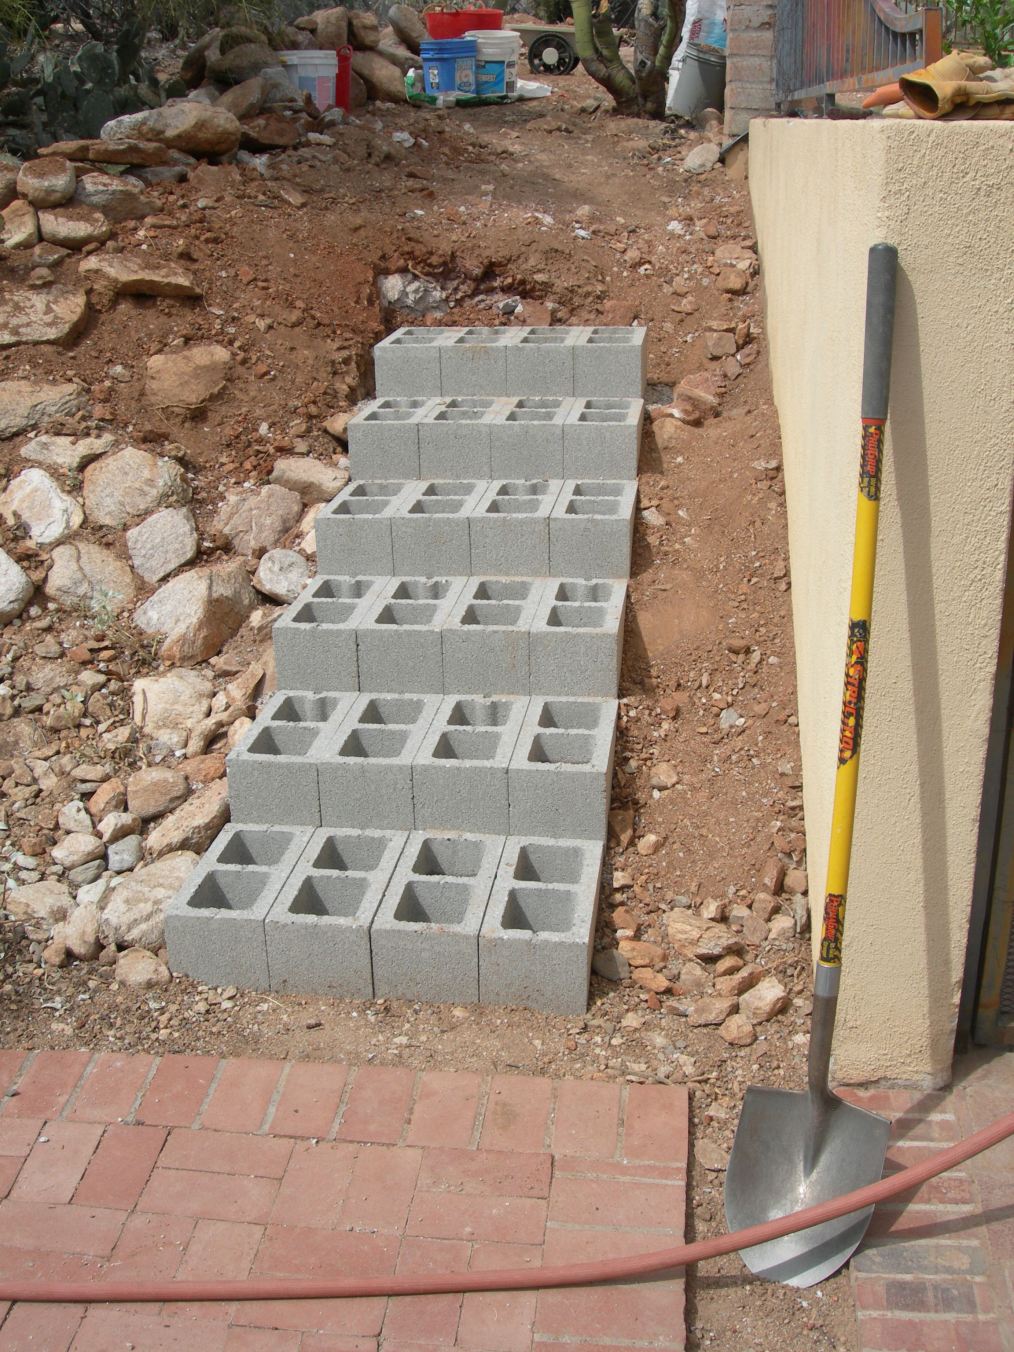
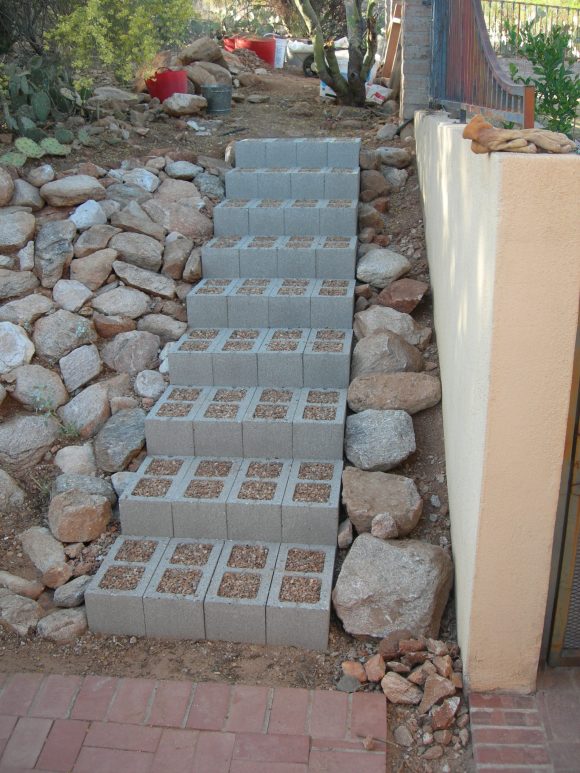
Here are some pictures of the four steps we put in Sunday afternoon.   This picture shows rocks partially filling the voids in the cinder blocks.  You can also see some of the pea gravel by the fourth step.

The last picture is another view of all four steps.  The brick walkway isn’t visible however.
I will post more later when there is time to work on the steps again.  We are getting to where the hillside is steeper, so there will be more digging away at the hillside, and possibly some contouring of the hillside to prevent it from eroding and washing dirt onto the steps.

Water, Stairs

I was getting ready to add some stairs outside to allow easier access to an area of the yard where we planted some citrus trees.  In the process of digging to put in a 1/2″ PVC pipe for irrigation, I hit the supply line for the irrigation system and thus created a small geyser in the desert.  24 hours later, after a lot of digging by Susan and me, and we had it fixed.  Next weekend work on the stairs will get started.
The cracked 1″ pipe:

Crack Pipe

All I wanted to do was replace the black pipe with more durable PVC.

The ensuing mess:

After the repair:

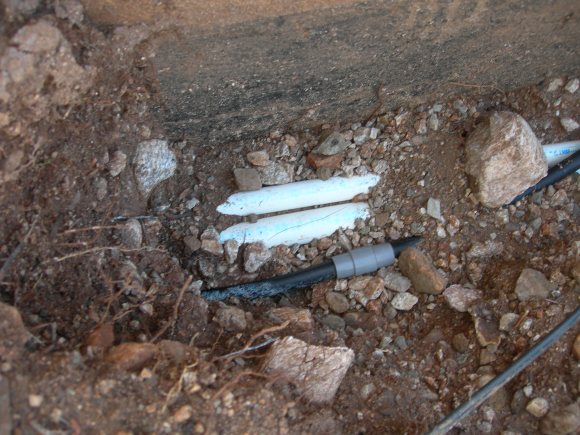
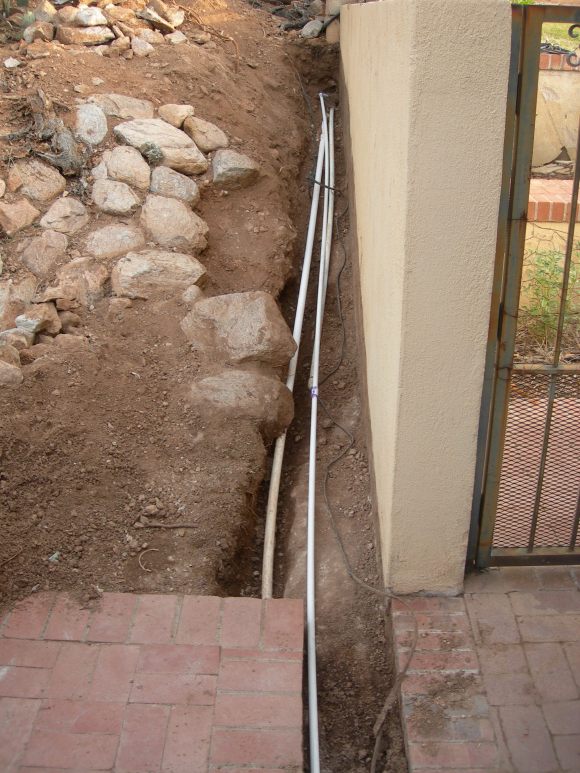
Leak Fixed! The existing pipe was thin-walled PVC. The 10' stretch of 1" pipe to effect the repair and the 20' stretch of 1/2" pipe are normal schedule 40 PVC.

Leak Fixed!  The existing pipe was thin-walled PVC. The 10′ stretch of 1″ pipe to effect the repair and the 20′ stretch of 1/2″ pipe are normal schedule 40 PVC.

This was a learning experience.  Now, instead of putting the steps right against the wall, they will be 16″ to the left to allow access for repairs.

The wire is for low voltage lighting that also needs some repair.  The pack rats have chewed through it in places, and it is just old.  Another in a series of fun projects!